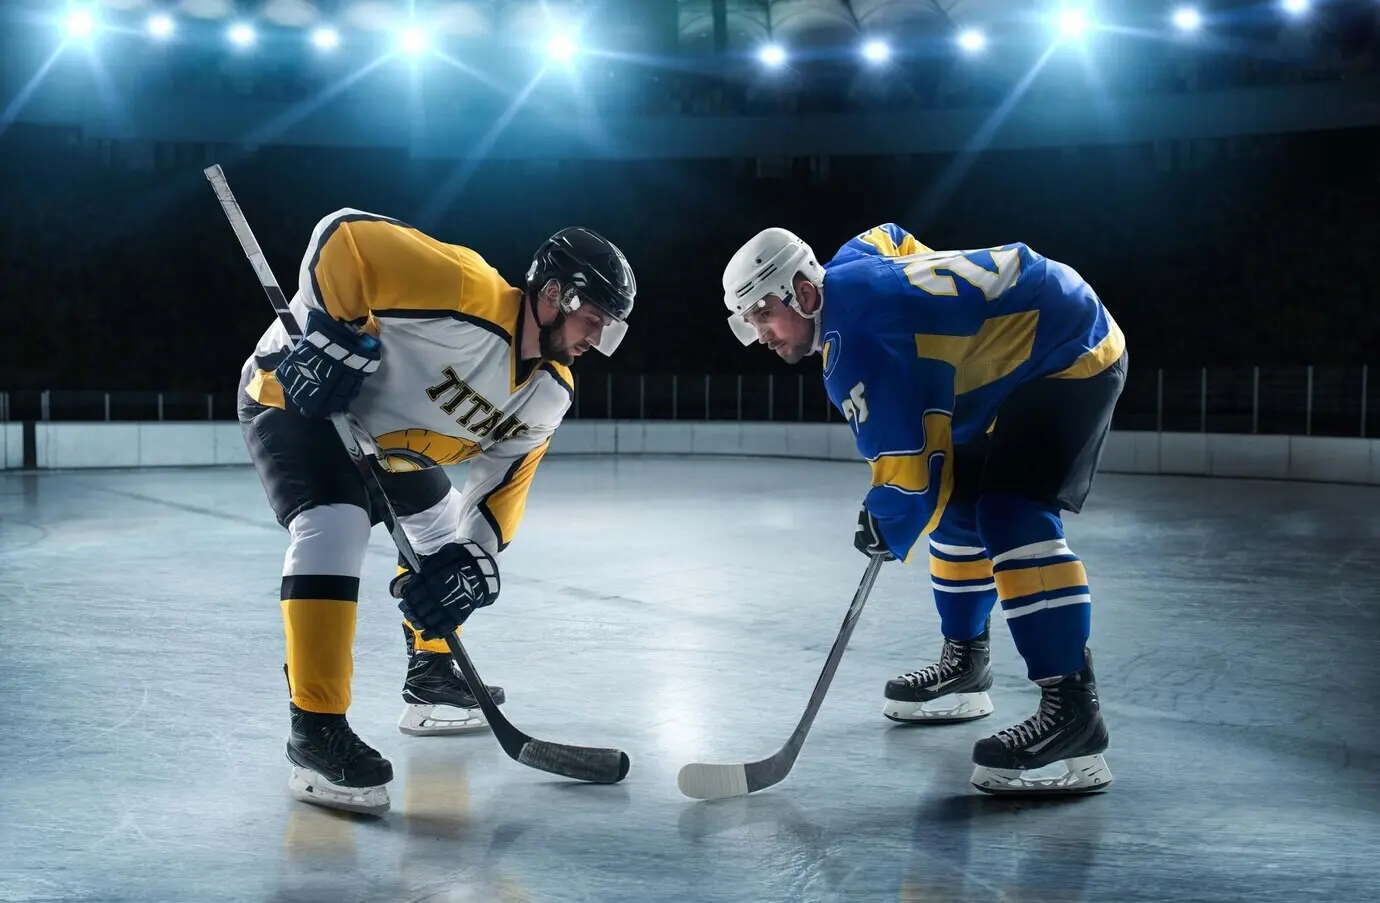
Your First Hockey Gear, Without Breaking the Bank

Welcome! Today we’re diving into a budget-friendly starter gear checklist for new hockey players, focusing on essential protection, fit, and performance. You’ll learn how to choose the right basics, where to save safely, and which items deserve priority. Along the way, you’ll get real-world tips, quick checks, and small details that stretch your dollars while keeping your confidence high from the first glide to your first shift.

Start With Safety: Head, Face, and Confidence

Safety isn’t glamorous, but it’s the fastest way to enjoy the game with real confidence. A properly fitted, certified helmet and dependable face protection protect you from the unexpected, and a comfortable mouthguard reduces risk while helping you focus on skating, passing, and shooting. We’ll show practical, affordable choices that meet standards, fit well, and avoid false savings that end up costing more after one awkward fall.

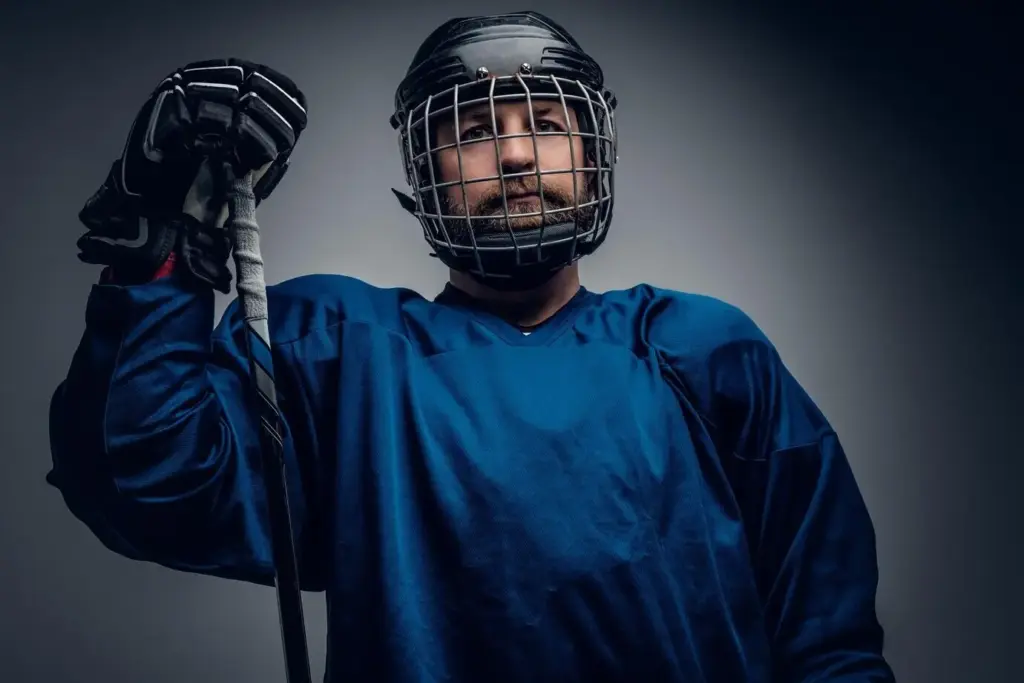
Helmet fit that actually protects

Look for current HECC/CSA certified helmets with adjustable tool-free systems, even on sale or clearance. Fit should be snug without hotspots, sitting level with the front rim just above the eyebrows. Try shaking your head gently; minimal movement is key. If buying used, inspect the shell for cracks, check the liner for hard spots, verify intact hardware, and never compromise on certification dates when leagues require compliance.

Cage, visor, and clear vision on a budget

A cage offers full-face coverage at an accessible price and is often easier for beginners. Ensure the chin cup centers the cage and aligns comfortably, preventing bouncing during sprints. If you choose a visor, confirm league rules, use an anti-fog spray, and clean gently with microfiber. Clearance cages rarely differ in protection from new releases, so prioritize fit, visibility, and compatibility with your helmet’s mounting points.

Mouthguard comfort you’ll actually wear

A boil-and-bite mouthguard gives reliable protection at a low cost when molded carefully. Follow the instructions precisely: not too hot, proper bite pressure, and a cool-down in water to set shape. Trim excess material to reduce gagging and pressure points. Consider strap options for cage attachment, reducing chances of misplacing it. If you have braces, look for orthodontic-friendly designs and consult your dentist about safe, affordable fits.

Skates That Fit Without Emptying Your Wallet

Sizing that respects your toes and wallet

Measure both feet and consider width options; many beginners unknowingly squeeze into boots that cause numbness and slow progress. You want toes feathering the cap while standing, retreating slightly when you bend your knees into skating posture. Don’t size up for growth; sloppy heel lock destroys confidence and power transfer. Try multiple brands, as last shapes differ, and prioritize fit over extras. Clearance models often share internals with higher lines.

Used vs. new: baking, break-in, and value

Used skates can be a bargain if eyelets are solid, the outsole isn’t separating, and the holder is tight. Check rivets for corrosion and replace cheaply if needed. Heat molding (baking) can improve heel lock in many budget and mid-range models, new or used. Be cautious with severely broken-down padding or collapsed ankle support. If possible, test on carpet, flex forward, and ensure your ankles feel centered—not tipping inward.

Sharpening basics and edge upkeep

For most beginners, a 1/2" or 5/8" hollow works well, offering grip without feeling overly grabby. Consistency matters more than chasing exotic profiles early on. Wipe blades dry after every skate and use hard guards only off-ice; switch to soft guards for storage. If edges feel uneven or you catch unexpectedly, it’s likely time for a touch-up. Keep a small cloth in your bag and avoid walking on rubber crumbs.

Sticks: Flex, Curve, and Cost-Saving Tweaks

Your stick is your communication line with the puck. Choosing the right flex, curve, and length dramatically accelerates control and shot mechanics without splurging on pro-level models. We’ll simplify flex math, explain how cutting changes stiffness, and highlight curves that help new players receive passes, lift pucks, and shoot confidently. With smart taping and grip choices, even budget sticks can feel dialed-in and game-ready.

Flex math made simple for beginners

Start with roughly half your body weight in pounds as a baseline flex, then adjust for play style. Remember, cutting the shaft makes it stiffer, so plan your final length before buying. Try gentle stick loads to feel the bend; the goal is smooth loading, not wrestling. If unsure, go slightly softer for easier shooting mechanics. Many entry-level composites offer dependable performance, and wood remains a cost-effective tool for learning fundamentals.

Curves that build control and shot confidence

Moderate mid-toe curves with mild face openness often help beginners lift pucks without launching floaters. Avoid extreme hooks until your passing and puck reception feel consistent. Blade lie affects how the blade sits on the ice; ensure your stance keeps it flat during handling. If you’re between patterns, prioritize receiving passes cleanly. You’ll shoot more effectively once puck feel improves. Clearance sticks in older patterns can be hidden gems.

Grip, tape, and small tweaks that save cash

A smart tape job transforms feel and durability. Use thin layers on the blade to preserve puck feedback, add wax for water resistance, and consider a modest knob to prevent glove wear. Replace only the tape when edges fray to extend blade life. If your gloves slip, try a light grip spray or textured tape on the handle. Keep a spare roll in your bag, since re-taping costs little and prevents surprises mid-skate.

Pads and Protection: Shoulders, Elbows, Shins, and Gloves

Comfortable protection increases confidence to lean into battles, absorb bumps, and recover quickly. You want gear that moves naturally with your skating posture, covers key impact zones, and resists sliding out of place. Buying wisely means checking straps, foam integrity, and liner condition, especially when shopping secondhand. Clean regularly to prevent odor and breakdown. With good fit, your gear disappears so you can focus on the next pass or shot.

Shoulder and elbow coverage that keeps you agile

Look for shoulder pads that sit flat on the clavicle without floating or digging. The sternum and spine plates should track your torso as you rotate, not ride up. Elbow pads must lock the elbow cap securely with forearm coverage that overlaps gloves. Test shooting motions to confirm bicep pads don’t snag. Used is fine if foams rebound when pressed, straps aren’t frayed, and plastic caps show no cracks or sharp edges.

Shin guards, socks, and strapping that stay put

Shin guards should overlap skate tongues comfortably, with the knee centered in its donut. If guards slide, try improved straps or hockey-specific sock tape in a figure-eight. Tall, durable socks reduce friction and help everything sit flush. Check calf wrap coverage for shot-block reassurance without bulk. When buying used, ensure liner snaps are intact and no cracks creep up from the toe cap. Fit stability saves you energy and prevents distractions.

Gloves that guard knuckles while growing your feel

Choose gloves that allow you to close your hand easily around the stick with no pinching. Good palms balance durability and tactile feedback; avoid overly slick materials if your grip is developing. Ensure cuff segments articulate so wrist rolls feel natural. Inspect used palms for thinning, especially at index and thumb. If you get blisters, adjust tape texture or try thin under-gloves. Prioritize comfort and dexterity; confidence follows quickly.

Lower Body: Pants, Jock/Jill, and Base Layers

Your lower body takes impacts from falls, errant sticks, and the boards. Well-fitted pants or a girdle system protect hips, thighs, and tailbone while preserving stride length. Support shorts with a cup or pelvic protector are non-negotiable. Breathable base layers manage sweat, reduce chafing, and speed up drying between sessions. Smart laundry routines keep costs down and gear fresher. Get the foundation right, and skating becomes smoother immediately.

Pants or girdle: coverage, mobility, and price

Traditional pants offer simple sizing and solid padding, often available at discounts. A girdle plus shell can feel more contoured and modular, though it may cost slightly more upfront. Try a deep skating stance and quick turns to judge mobility. Check tailbone and hip plate alignment while moving. Used options are fine if seams hold and padding rebounds. Choose the system that fits your body and budget, not marketing language.

Support shorts, cups, and pelvic protection

A well-fitting jock or Jill with integrated sock attachments keeps everything organized and safe. The cup or pelvic protector should sit centered without shifting during crossovers or stops. Choose breathable fabrics and secure waistbands to avoid constant adjustments. Replace cracked or warped protectors immediately; that’s not a savings. If on a tight budget, prioritize this item alongside helmet and skates. Comfort here reduces distractions and builds movement confidence across every drill.

Base layers that manage sweat and smell

Synthetic or merino-blend base layers wick moisture and minimize chafing, helping you skate longer without irritation. Look for flatlock seams, stretch that matches your stride, and quick-dry labels. Wash promptly, air-dry, and use garment-saving laundry bags to extend life. Avoid cotton, which holds moisture and chills you. Clearance multi-packs can be great value. A consistent layering system simplifies your routine so you can focus on skills, not discomfort.

Bags, bottles, laces, and little lifesavers

Choose a bag with ventilation and enough structure to keep sharp edges away from fabrics. Label your water bottle clearly and clean it often. Keep spare waxed laces, tape, a microfiber cloth, and soft guards in an easy-to-reach pocket. A simple carabiner holds socks or towels after practice. None of these items are expensive, yet they prevent missed ice time and keep your setup orderly when nerves spike before a game.

DIY care that extends gear life

After every skate, open your bag, separate pads, and hang items to dry. Wipe blades, loosen tongue padding to release moisture, and use gentle sprays only when needed. Periodically check screws, rivets, and straps; early fixes are cheap compared to replacements. Wash base layers frequently and pads occasionally according to labels. A small routine builds pride in your setup, prevents odor, and saves money you’d rather spend on extra ice sessions.

Where to shop, when to upgrade, and how to budget

Scout local pro shops for fittings, then watch seasonal sales for your size. Community swaps and online marketplaces offer bargains if you inspect carefully and ask sellers detailed questions. Prioritize helmet, skates, and cup first; add or upgrade other items as skills and needs evolve. Track purchases in a simple list to avoid duplicates. Comment with your favorite finds, ask fit questions, and subscribe for updated deal alerts and new-player checklists.
Zinukapumeritunita
Privacy Overview

This website uses cookies so that we can provide you with the best user experience possible. Cookie information is stored in your browser and performs functions such as recognising you when you return to our website and helping our team to understand which sections of the website you find most interesting and useful.